Step 1: Start by opening the photo you would like to mask. Make sure you rename the "Background" layer to something else to unlock it. Just double click the background layer to rename it.

Step 2: Click the "Edit in Quickmask Mode" button. Grab your brush tool, I set my brush to a 90px diameter.

Step 3: Start by click around what you would like to mask, I like to do this to build my way up to the image, I will than shrink my brush and get a little bit closer to the image.
Step 4: Get your brush smaller, and zoom in to get a little more detail, the better you mask around yourself, the better results!
Step 5: Complete masking around your whole body, it doesn't have to be perfect.

Step 6: Now click the "Edit in Standard Mode" button, and it will have created a selection around you.

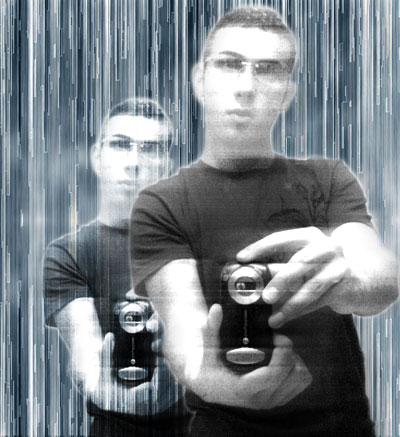
Step 7: Now go up to Select > Inverse (Shift + Ctrl + I), to select everything outside of yourself, rather than selecting yourself. Now go up to Select > Feather (Alt + Ctrl + D). I put a value of 2 pixels. Now hit delete, to delete everything. You will notice everything behind you is checkered boxes, which means theres nothing behind you, transparency. Create a new layer, put it behind your current layer. I used the Techy Lines tutorial for the background, and applied a bit of a photo effect.